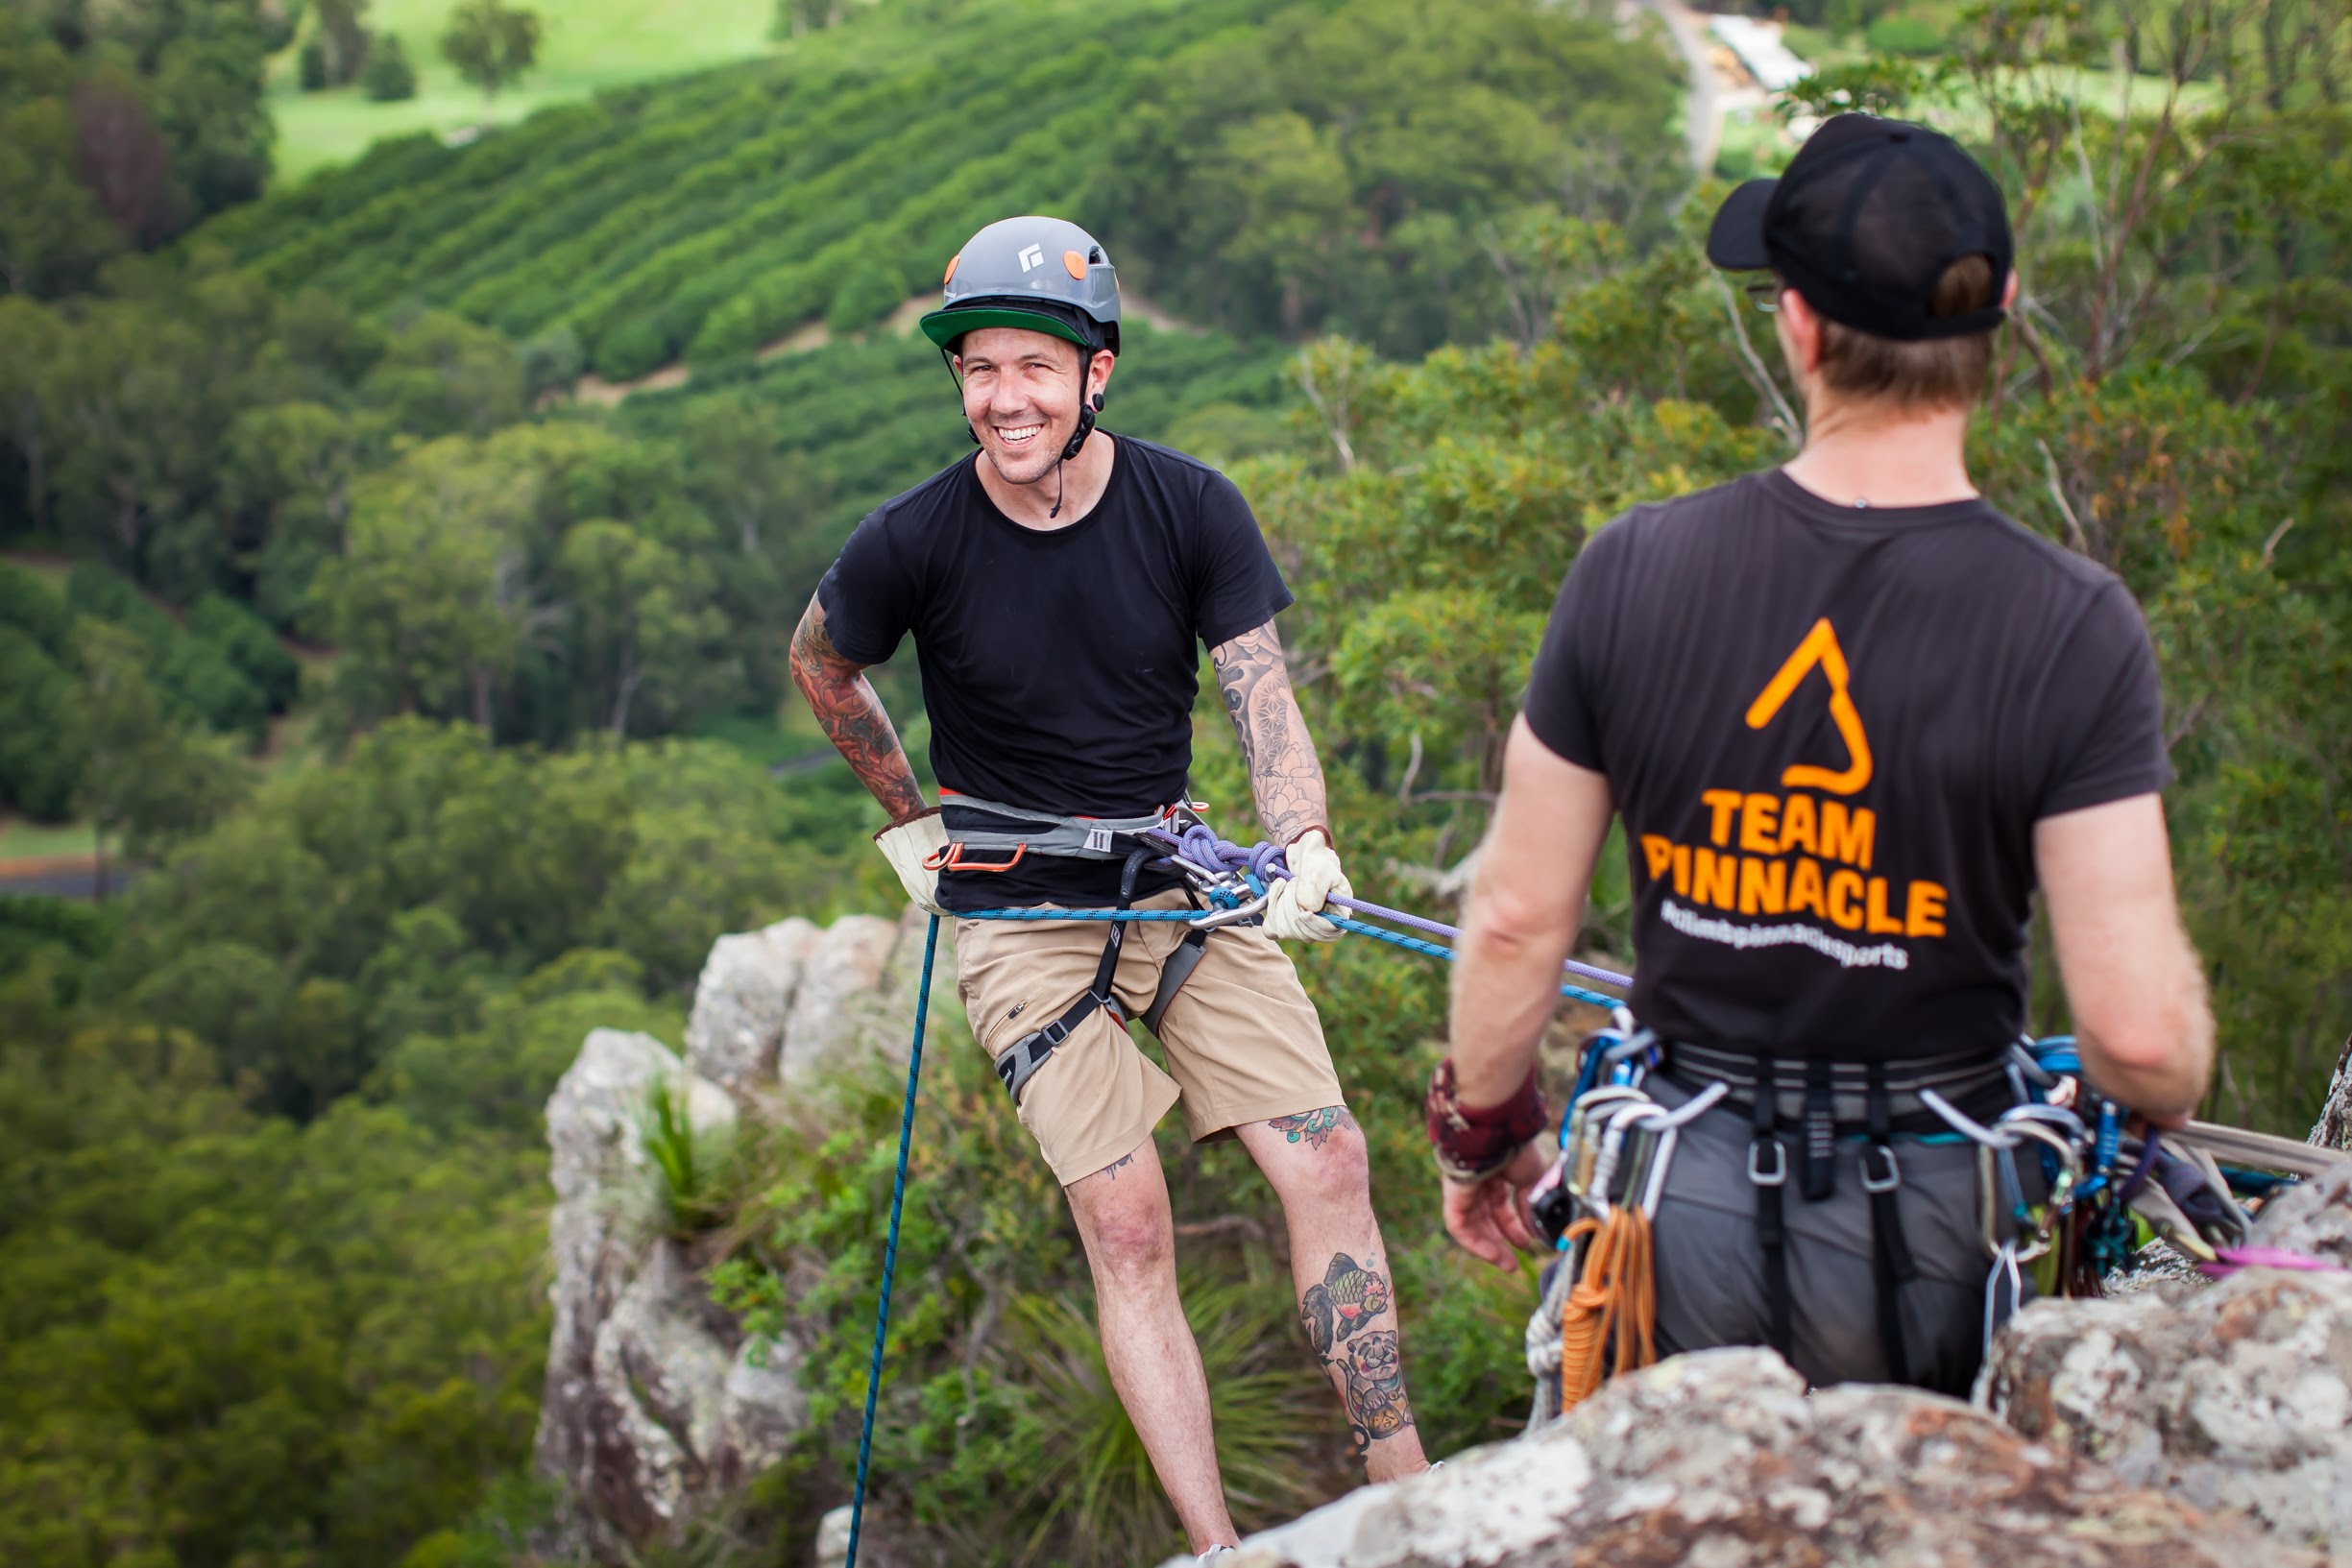
A home climbing wall is a fantastic way to continue to scratch that climbing itch when access to gyms or crags is limited - but it might seem like an intimidating project for someone without much woodworking or building experience. Luckily, we're here to help.
We won't be explaining how to connect the wall to your house or other structure, as everyone's situation will be different. Keep in mind that whatever structure you are attaching it to, both the method of attachment and the structure itself, need to be absolutely "bomber".
We'll just provide an outline of how to build the wall itself. So, here goes!
What you'll need
Note that this list is purely for the wall itself (not the supporting attachment/structure) and is assuming a 2.4m x 3.6m wall, adjust as necesary to fit your desired size.
- 3 panels of 18mm (or thicker) thick plywood at 1200mm x 2400mm
- The following timber (structural pine is standard and is ready available in treated options for outdoor walls):
- 2 x 2400mm x 140mm x 45mm for the top and bottom of the wall
- 6 x 3420mm x 140mm x 45mm for the vertical studs
- 10 x 426mm x 90mm x 45mm for the horizontal bracing
- 100+ wood screws (60mm is a good length)
- 300ish tee nuts
- A drill with a wood bit suitable for making the tee nut holes
- If your wall is going to be outdoors, you will need outdoor paint to assist with weather-proofing. Even for indoor walls. you may also like to use textured paint to add some texture to the wall to allow for smearing. This extra texture probably isn't necessary for super-steep walls but could be good for closer-to-vertical ones.
How to build
The first step is to prepare your plywood panels. These involves drilling holes, hammering in tee nuts, and (optionally) painting the panels. If you're painting, you will need to do that before putting the tee nuts in. The holes should be drilled at even spacing from each other and ideally in an off-set grid pattern. Aim for about 100 tee nuts per panel and make sure to leave space for the framing and bracing to attach to the panels. A good method is to stack the panels on top of each and clamp them tightly, then you can drill each panel in one go using a drill guide if you have one. We recommend using a pencil to mark out where all the timber is going to be going and where you want to drill your holes before getting started. Once the holes are drilled, you just need to hammer the tee nuts in and then the panels will be ready to go, but before you do anything else with them you need to set up the framing.
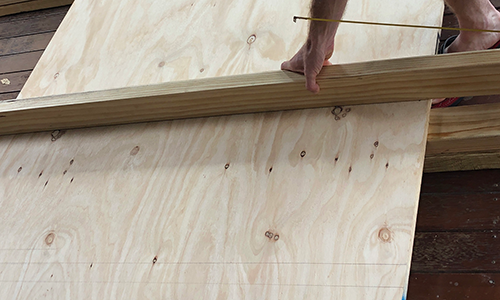
Marking out the location of the beams to ensure a usable tee nut grid.
Place your vertical framing beams at even spacing . This will mean you have one framing beam on each side edge of the wall, and four beams in between. You might find that placing the plywood panels over the top can help you line the beams up correctly, but don't attach the panels to the beams yet! You will also want to place the two shorter beams at either end of the vertical beams, as seen in the image below. It's really important that you get the spacing on these beams correct, as the horizontal bracing needs to fit snugly in the gaps. We recommend using the horizontal bracing to help line everything up (but don't attach it yet).
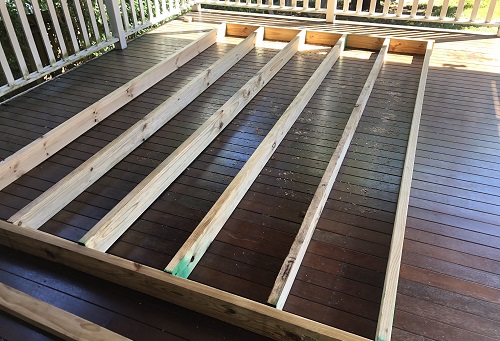
The framing beams should look something like this at this stage.
Once the framing studs are correctly in place, you will need to sort out the horizontal bracing studs. These go between the framing studs at the points where the panels meetl. Make sure they are flush with the bottom of the framing studs as the plywood panels need to be screwed to these as well. It can be a good idea to offset the horizontal bracing to make it easier to attach.
.jpg)
Here you can see the horizontal bracing offset between the vertical framing (note that there is no need to double it up as shown in this image).
If you are building an outdoor wall, this would be the time to paint all of the wood. Once all of the framing and bracing is in place, you probably want to attach it all to whatever supporting structure is going to be holding up the wall. Alternatively, you can do this after you attach the plywood panels, but it will be harder as the panels will add a lot of weight to the wall.
Either way, once you are ready to attach the plywood panels, it's time to bust out the drill and start screwing. Make sure you are screwing to both the framing and bracing beams and spaced out by about 200mm between screws.
.JPG) .
.
Clamps are used to hold the panel in place while it gets screwed to the frame. Markings indicate where the studs are.
Once the panels are on, congratulations - you have a wall that's ready to have some climbing holds set on it! When setting holds, consider the angle that the wall be sitting at. A steep wall will allow you to really focus on training power but will require some more positive holds unless you are a seriously elite climber (and even then you want something to warm up on, right?), whereas a vertical or even off-vertical wall will allow you to use smaller/less positive holds and focus on your technique and endurance. A vertical wall is also great for kids!
The final consideration is matting. Make sure you have adequate protection, keeping in mind that momentum can carry you pretty far during a fall. If you have a few boulder mats sitting around, these might be usable, but make sure you are fully covering the fall area!
Looking for more great reads? Subscribe to our newsletter to stay up to date with the latest climbing tech, crag recommendations and upcoming events.